Prep Time: 15 min + chilling
Cook Time: n/a
Serves 1- 2 pie crusts
Difficulty Moderate
Ingredients
SINGLE-CRUST
- 1 1/2 C. all-purpose flour (195 grams / 6.9 oz.)
- 1/2 tsp. salt
- 1/2 C. (96 grams / 3.38 oz.) cold Crisco® All-Vegetable Shortening
- 3 to 6 Tbsps. ice cold water
DOUBLE-CRUST
- 2 C. all-purpose flour (260 grams / 9.2 oz.)
- 3/4 tsp. salt
- 3/4 C. (144 grams / 5.07 oz.) cold Crisco® All-Vegetable Shortening
- 4 to 8 Tbsps. ice cold water
DEEP-DISH DOUBLE-CRUST
- 2 1/2 C. all-purpose flour (325 grams / 11.4 oz.)
- 1 tsp. salt
- 1 C. (192 grams / 6.77 oz.) cold Crisco® All-Vegetable Shortening
- 6 to 10 Tbsps. ice cold water
Directions
- Preheat oven to 425°F.
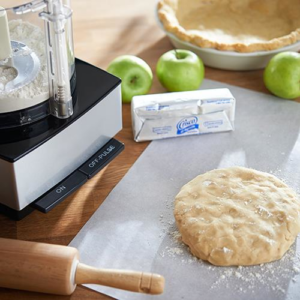
- Stir flour and salt in large bowl until blended. Cut shortening into flour mixture using pastry blender or fork until shortening pieces are the size of peas. Gradually add just enough water, 1 tablespoon at a time, stirring with fork just until dough holds together and forms a smooth ball.
- Shape dough into a ball for single pie crust. Divide dough in half and shape into two balls for double crust pie. Flatten into 1/2-inch thick disk(s). Wrap disk(s) in plastic wrap. Chill 30 minutes or up to 2 days.
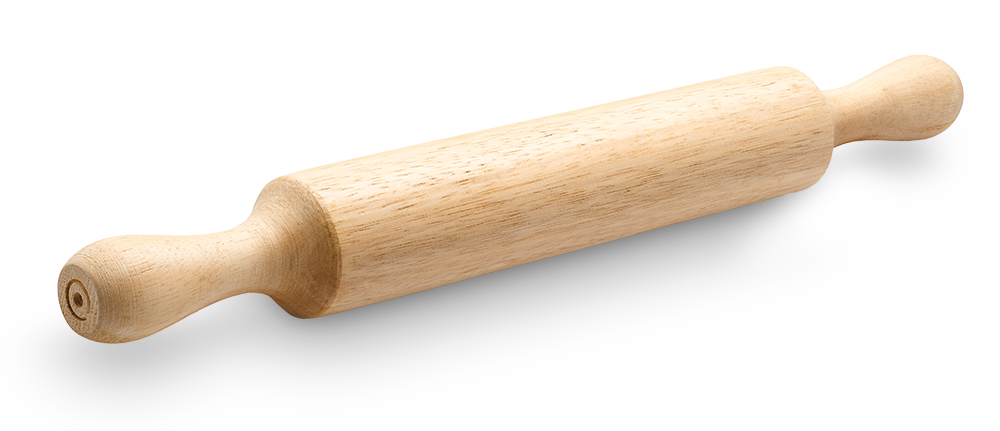
- Roll dough on lightly floured surface, rolling from center outward. For 9-inch pie plate, roll into an 11-inch circle. For 9 1/2-inch deep-dish pie plate, roll into a 12-inch circle. Transfer dough to pie plate.
For single-crust pie
- Fold edge under and press to form a standing rim. Flute edge as desired. Chill until ready to use.
For double-crust pie or deep-dish double crust pie
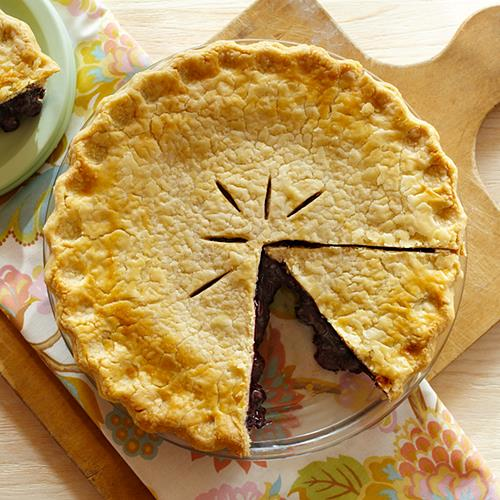
- Roll disk for bottom crust, trimming edges of dough even with outer edge of pie plate. Fill unbaked pie crust according to recipe directions. Roll out remaining dough disk. Place dough over filled pie crust. Trim edges of dough leaving a 3/4-inch overhang. Fold top edge under bottom crust. Press edges together to seal. Flute edges as desired. Cut several 1/2-inch slits in top crust to vent steam. Bake according to specific recipe directions.
Fully Baked Pie Crust
- Line pie dough with parchment paper or foil and fill with pie weights (can use dried beans, uncooked rice, or granulated sugar as a weight as well).
- Bake at 425°F for 18-20 minutes. Remove crust from oven and allow to cool for a couple of minutes.
- Remove the pie weights/parchment.
- Brush edges of crust with egg wash or milk and bake at 350°F for 10-20 minutes.
HELPFUL TIPS
For the best results with Crisco’s Classic Pie Crust recipe, please follow these helpful tips below for great outcomes.
Handling Ingredients:
- Keep ingredients chilled.
- Measure flour by lightly spooning it into a measuring cup and leveling off with a knife or offset spatula. Do not scoop directly from the flour container.
- Measure shortening by weight if possible. If using a measuring cup, be sure to pack the shortening in and fill it all the way to the top of the measuring cup.
Cutting in Shortening:
- Cutting shortening in refers to using an up and down motion versus a twisting or stirring motion.
- Always use a pastry blender or large fork to cut shortening into flour. Avoid using your hands to cut in the shortening as they can melt the fat and cause too much gluten development, resulting in a tough crust.
Adding Water:
- Add the water 1 tablespoon at a time and gently stir or toss with the flour mixture using a rubber spatula for 30 seconds before adding more water.
- To test if dough has enough water, see if a small bit of dough holds together when squeezed with your hand. If not, add another tablespoon of water.
- Dough should have a “mosaic” look with bits of shortening visible when it is finished and ready to be wrapped for chilling.
Rolling and Repairing:
- When rolling out the dough, do so on a lightly floured surface and use a lightly floured rolling pin. Roll from the center out toward the top and then from the center toward the bottom. Rotate the dough a quarter turn and repeat the process to maintain a circular shape.
- If you have trouble with the dough sticking to your surface, try rolling it out between two sheets of waxed paper.
- Avoid adding too much flour while rolling.
- Make sure your work surface is completely dry before rolling.
- If you develop a crack in the dough, take a small piece from the outer edge and press it into the crack. Add a little flour to the top and roll it in.